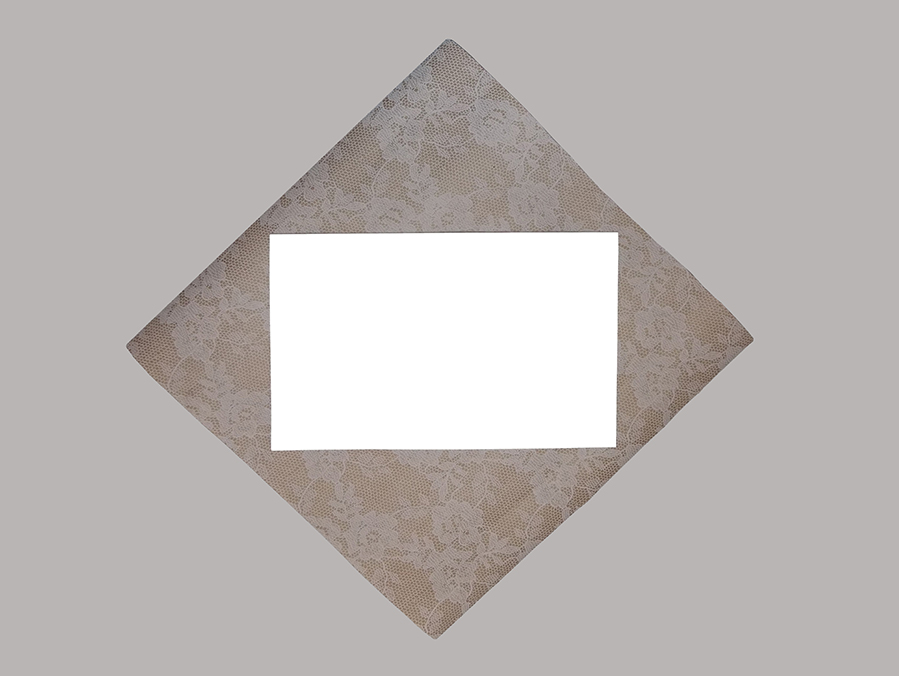
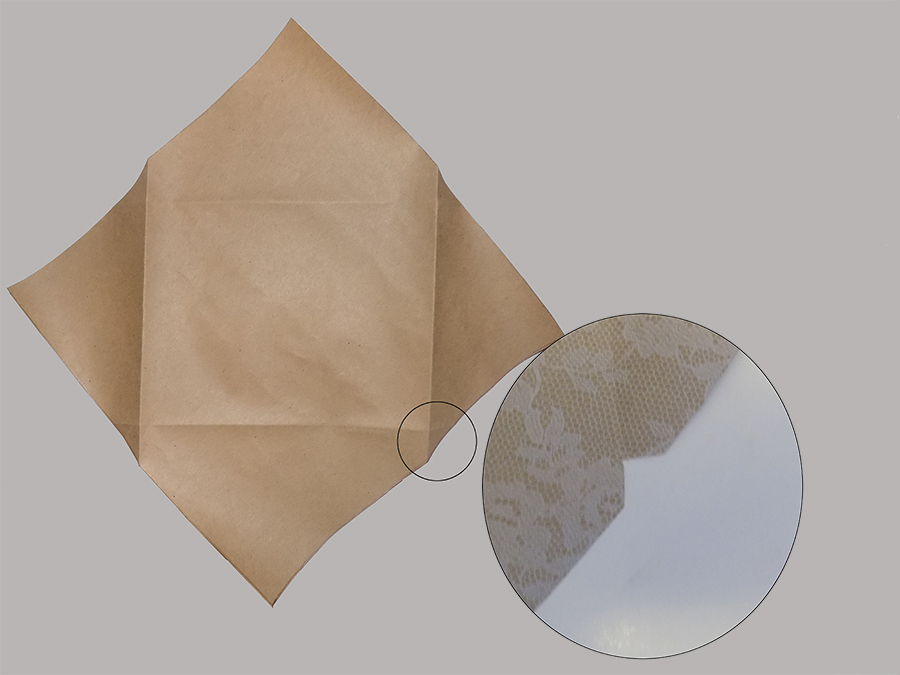
Three ways to make envelopes.
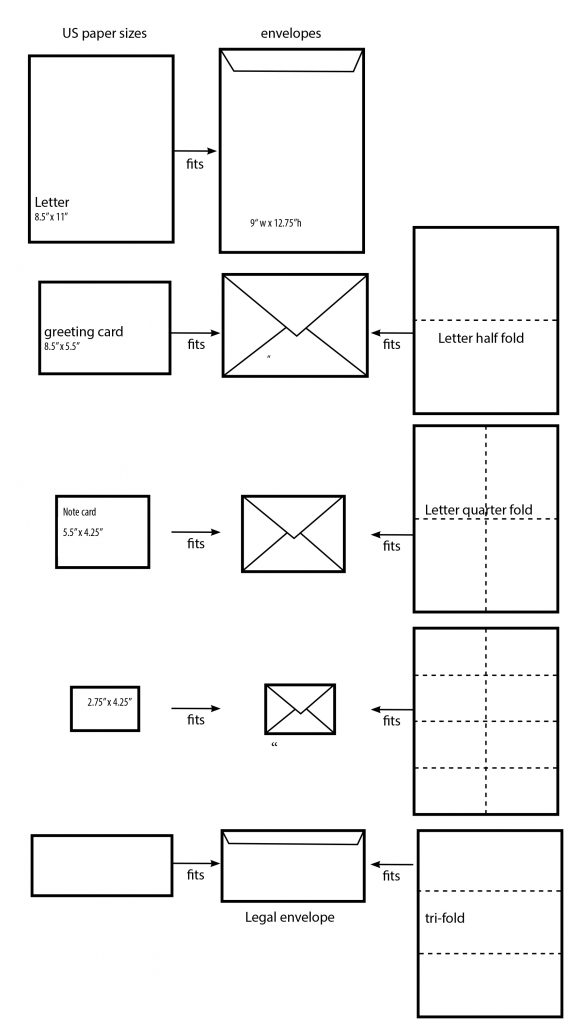
The greeting card designs offered in the LKArts shop are sized so they can be printed on standard 8.5” x 11’ stock. Office supply stores often carry blank card stock that come with envelopes, but since the designs can easily be printed on other papers, these instructions will help you to finish your greeting card project.
In general, before you start…
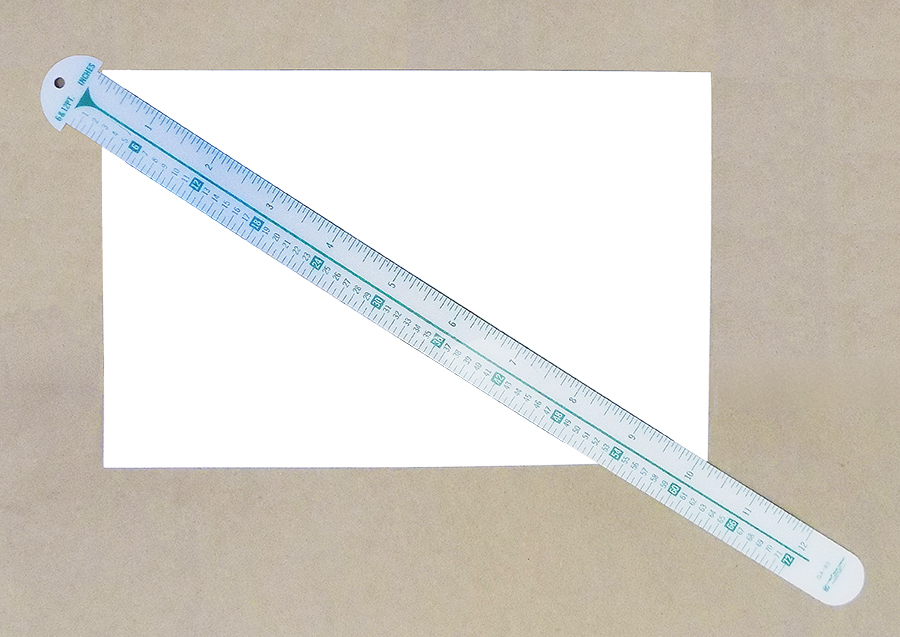
These items are recommended for each of the options described below to create your own envelopes.
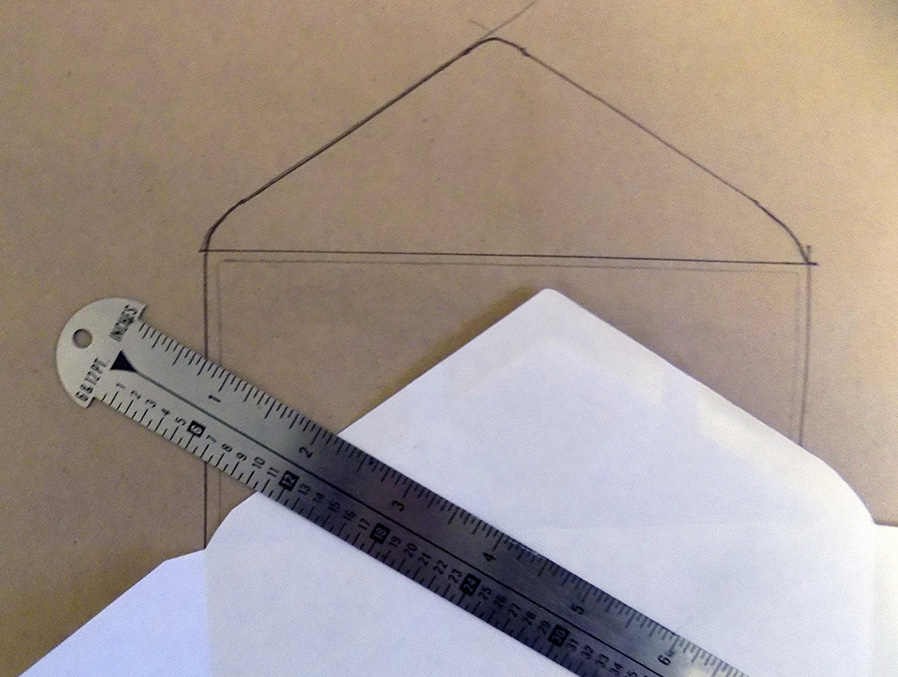
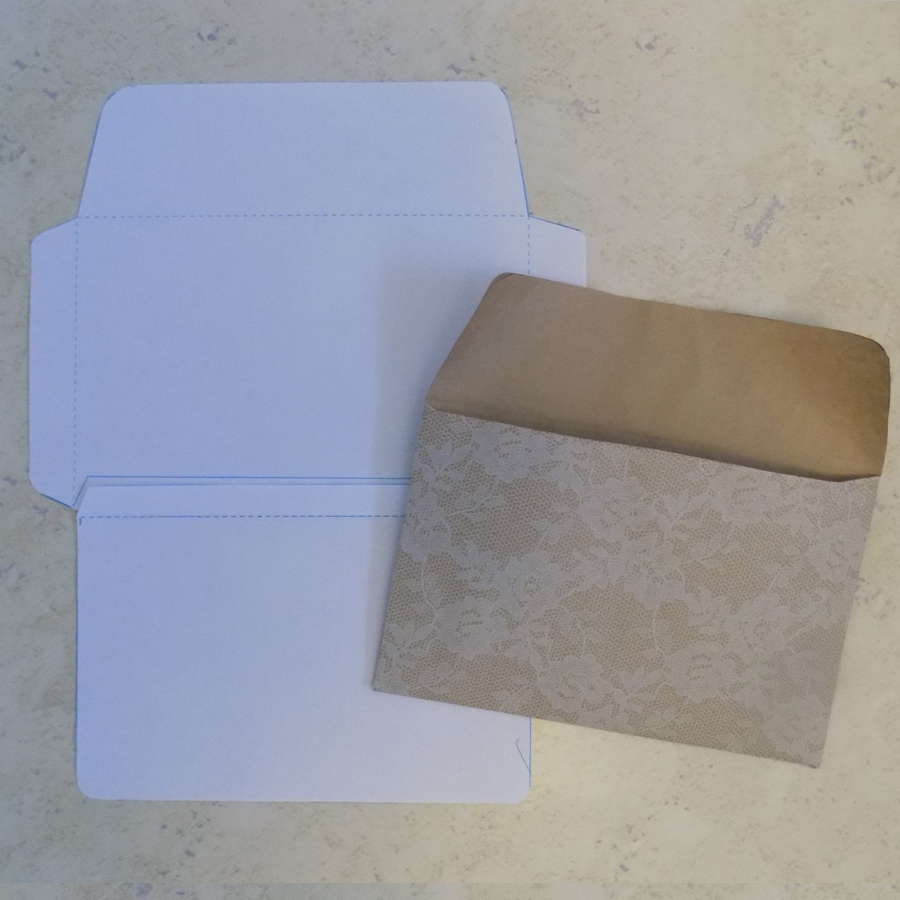
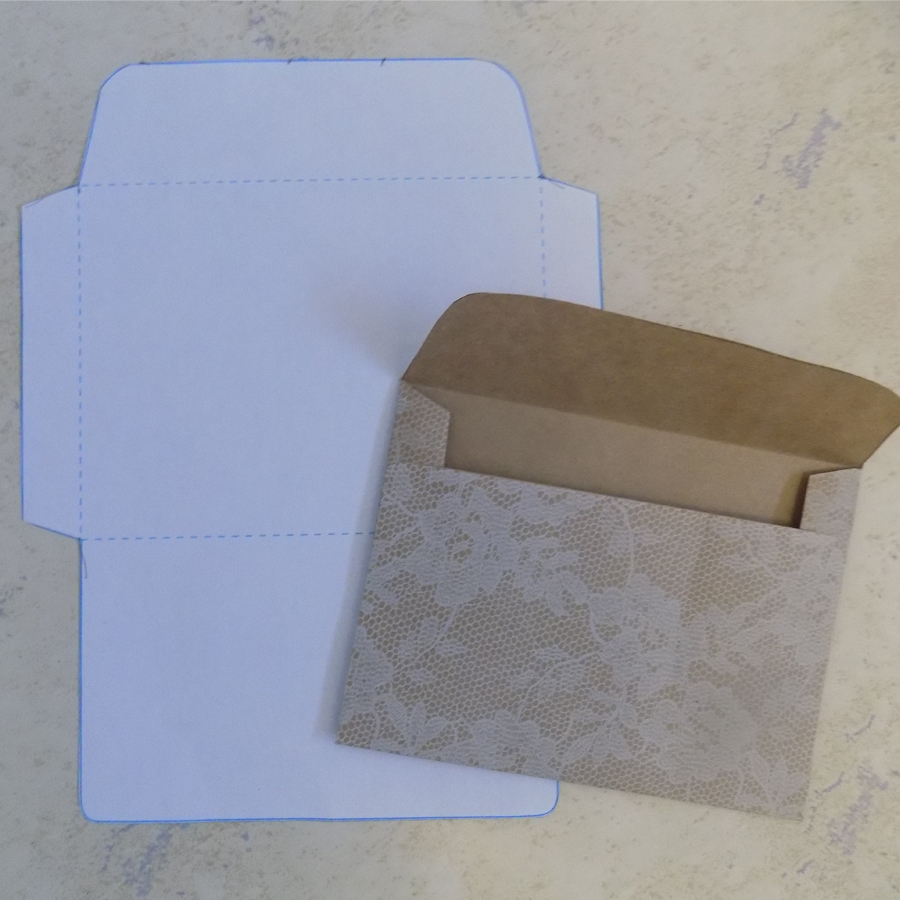
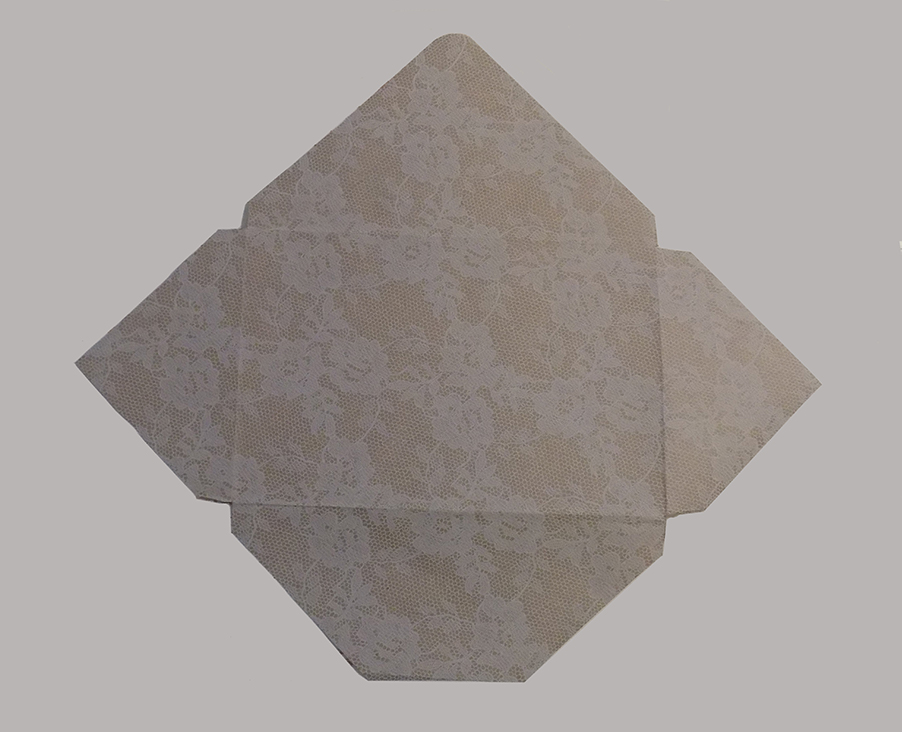
When the envelope shape is copied onto the final paper, and after it is cut out, you will score, fold, crease and adhere the sides and bottom flap.
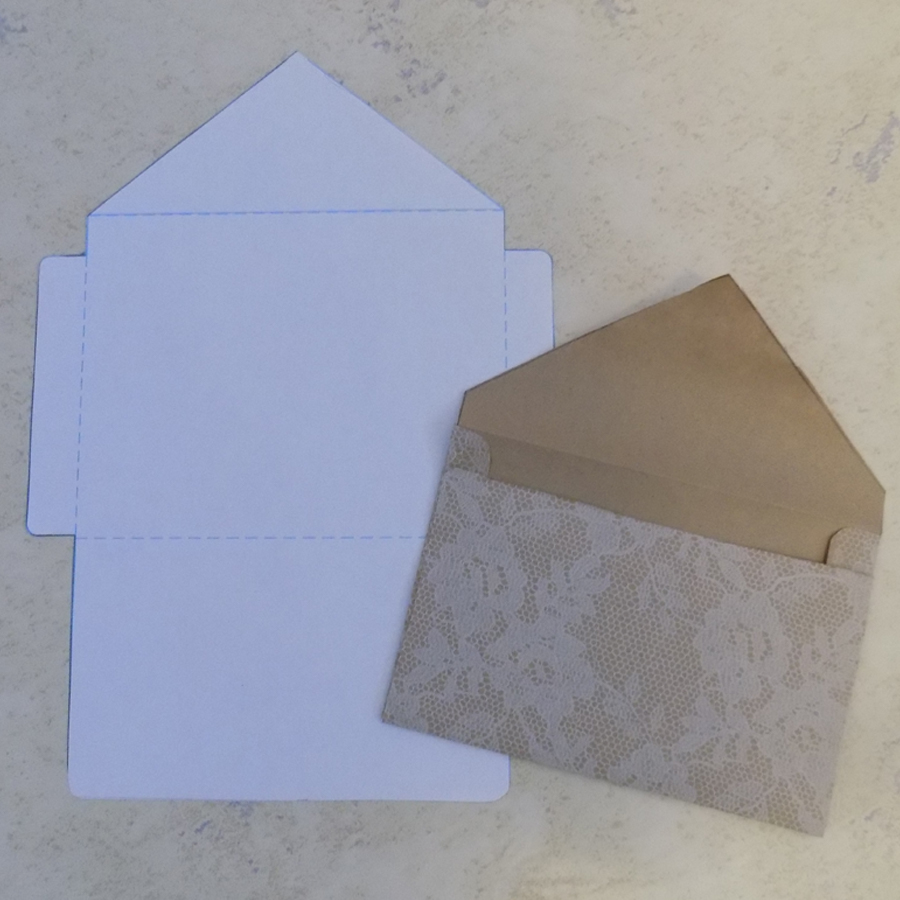
If you want a decorative edge on your seal flap, trim the seal flap before you fold and glue the sides/ bottom.
Score all fold lines, especially on heavier stock options, this along with pressing the fold flat with a tool or even your fingernail will help make the folds crisp and the envelope more professional.
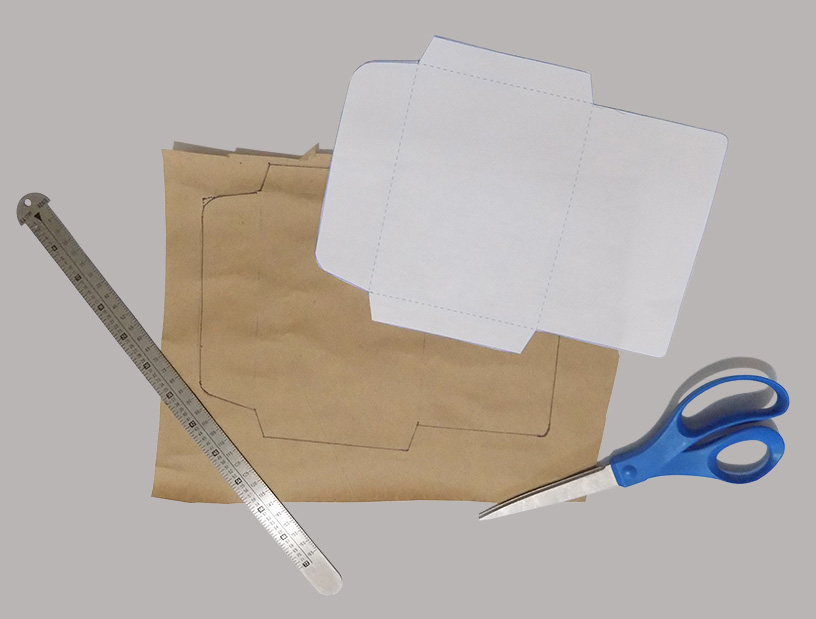
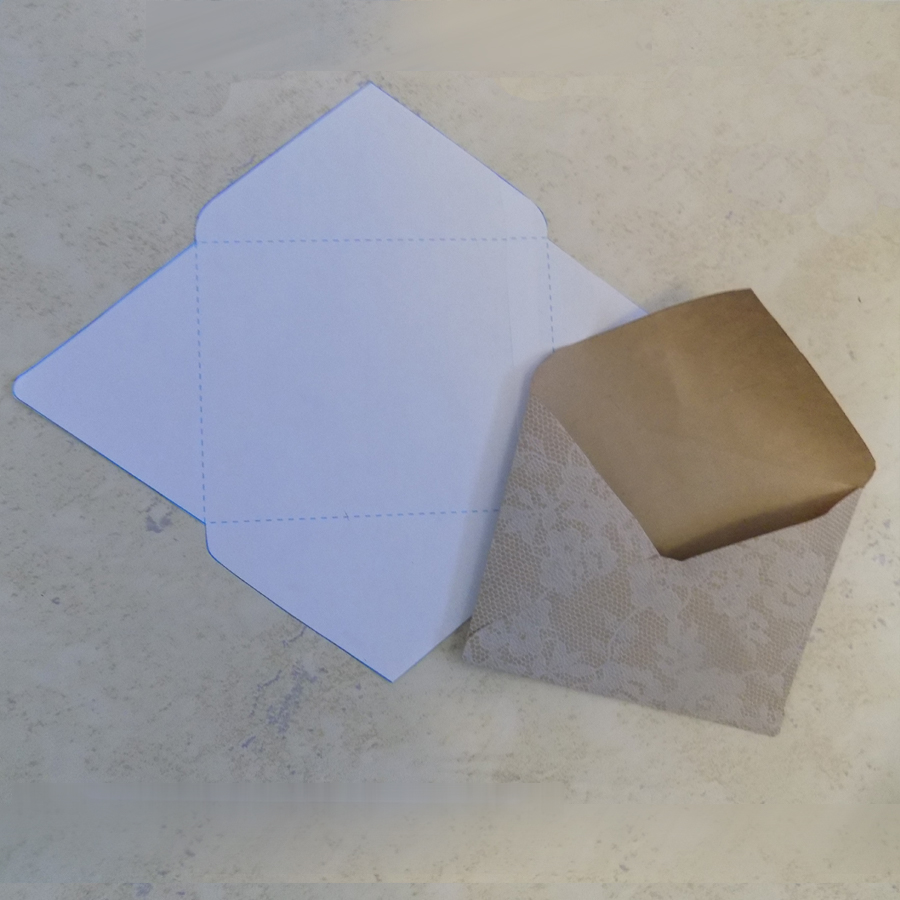
When folding; do each flap individually with a straight edge, especially if you did not score the fold lines. Open each flap back up and proceed to the next flap.
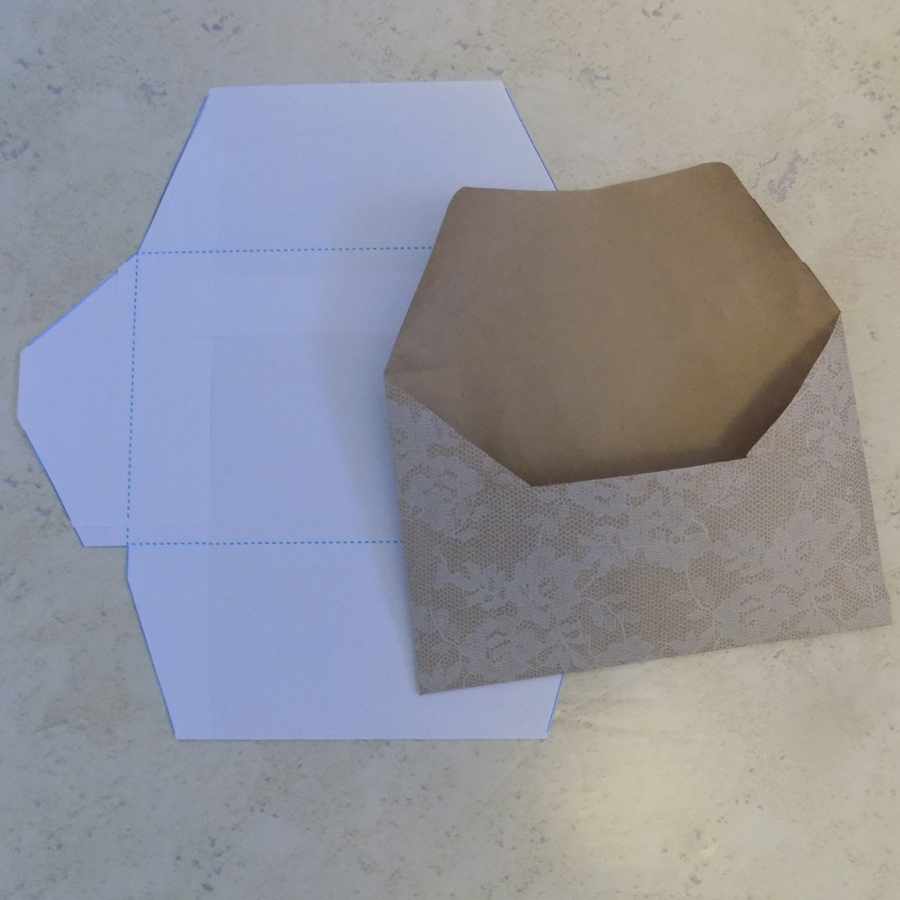
No matter how careful you are with measuring and tracing, there can be some areas that could use a trim… so after folding, but before you glue, trim any flap edges that don’t line up. This is also a good time to check and make sure the rounded corners are consistent.
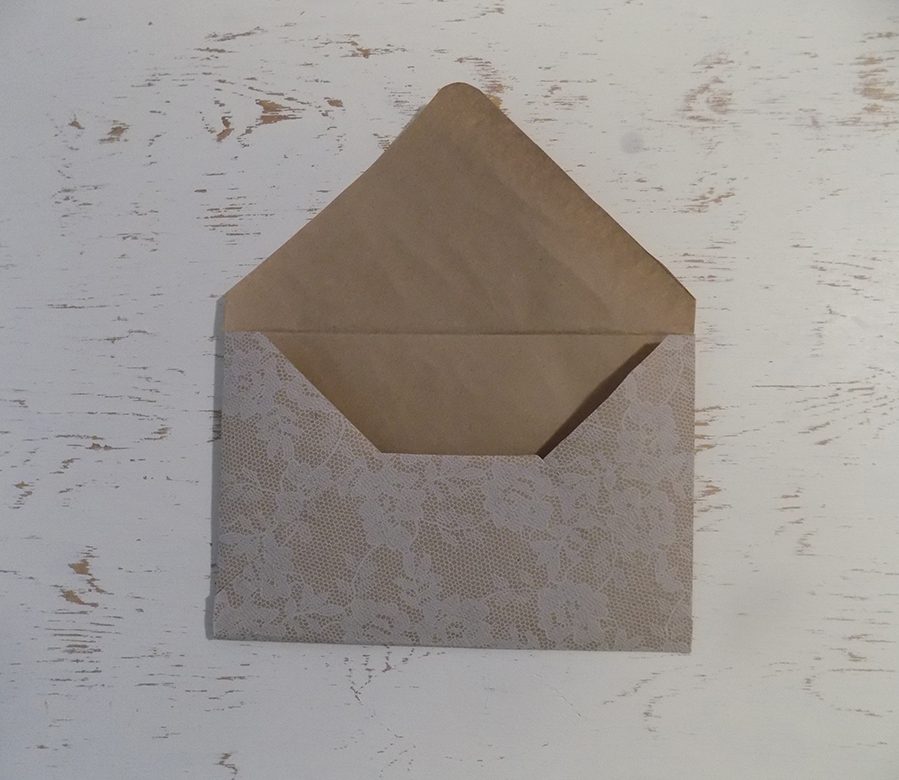
Any glue, glue stick, or double sided tape, can be used on the sides and bottom, and even the seal flap after inserting the card. Be careful to keep glue in area of overlap.